Mastering SvelteKit Deployment: Adapters, What Are They?
- SvelteKit
- Deployment
- Adapters
Published on
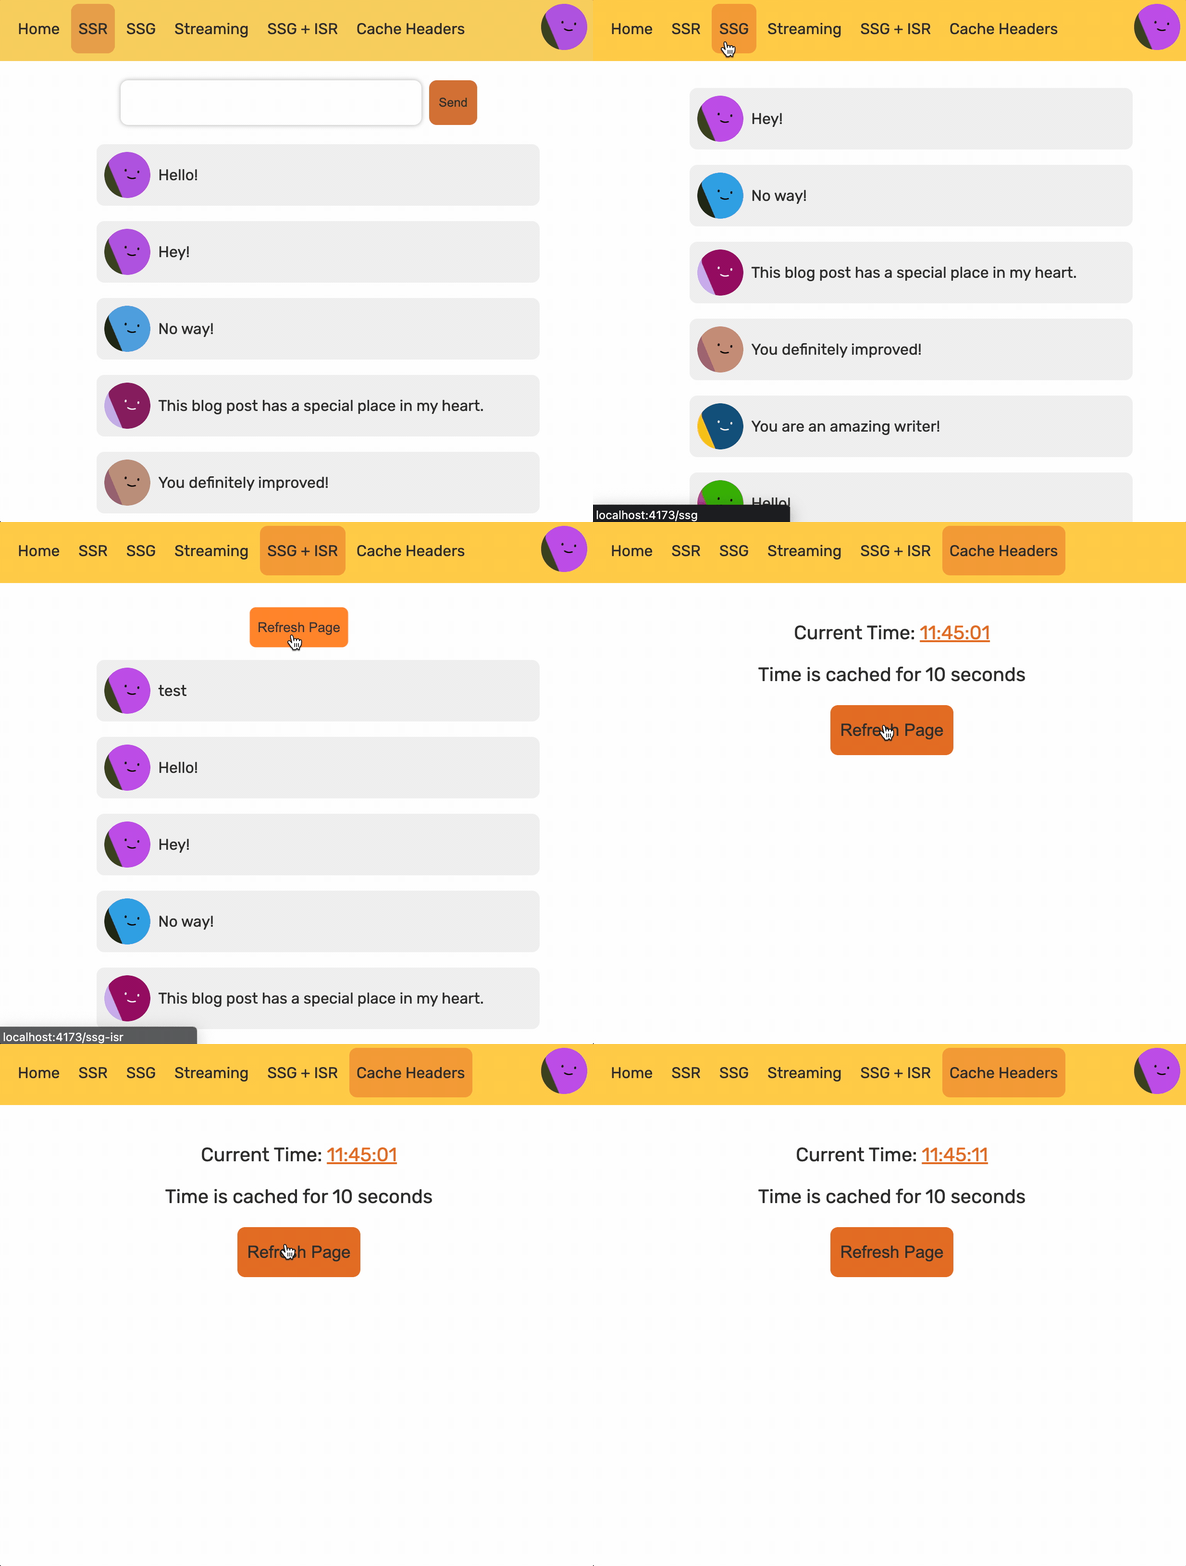
In Part 1, we have set up our example SvelteKit app, which we will deploy to multiple platforms throughout the series. Now, we will explore the concept of Adapters, their purpose, and how they internally work behind the scenes.
Building our SvelteKit App
To grasp the concept behind Adapters, we first need to study the output of compiling SvelteKit apps:
	cd deployed-sveltekit-app
	pnpm build
Running the Vite build command will output a .svelte-kit directory in the root of our project, which contains the following subdirectories:
	├── generated
	├── output
	└── types
Our focus is the output directory, but let’s give a quick summary for each:
- The
gnerateddirectory is the first step in the build process, it has a fingerprinted hash for each build, and maps to our project to be used for generating the build output, it’s also used for watching changes for hot module replacements. - Server type declaration files are stored in the
typesdirectory, which also outputs a JSON file which contains route-to-file mappings. - We can say that the
outputdirectory is made from the penultimate step during the build process, it’s a set of JavaScript, HTML, and CSS files which is what every Svelte app is compiled to. It has both server code and client code, and contains a manifest file that export regex patterns for our app routes.
You can preview the build using the command pnpm preview or vite preview, but this command is not useful for deploying to deployment platforms, as they tend to be different from each other, they have different envs, runtimes, features, options, and many other differences that step in our way of deploying our SvelteKit app 🚶🏻
What Are Adapters?
We live in a world where we have a lot of different deployment platforms, in forms of serverful, serverless, static, and others. Deploying an app that works on a specific platform requires processing our output to follow their vendor-specific rules, which is a time consuming task. Adapters are available for us to automate all of this hard work, they add a build step for adapting our output to a target platform of choice.
Adapters are not taught to SvelteKit, other frameworks like Nuxt and Astro have technically the same concept that works in a similar pattern.
There are a lot of adapters available as ready-to-use packages, some examples are adapter-node, adapter-static, adapter-vercel, etc. You can even build your own if you don’t find what you are looking for.
The default Auto Adapter
SvelteKit comes out of the box with an adapter called adaptera-auto that determine which adapter to use by checking platform-specific environment variables, it installs and runs the one which it detects. Here’s a code snippet taken from SvelteKit’s GitHub repo:
export const adapters = [
	{
		name: 'Vercel',
		test: () => !!process.env.VERCEL,
		module: '@sveltejs/adapter-vercel',
		version: '2'
	},
	{
		name: 'Cloudflare Pages',
		test: () => !!process.env.CF_PAGES,
		module: '@sveltejs/adapter-cloudflare',
		version: '2'
	},
	{
		name: 'Netlify',
		test: () => !!process.env.NETLIFY,
		module: '@sveltejs/adapter-netlify',
		version: '2'
	},
	{
		name: 'Azure Static Web Apps',
		test: () => process.env.GITHUB_ACTION_REPOSITORY === 'Azure/static-web-apps-deploy',
		module: 'svelte-adapter-azure-swa',
		version: '0.13'
	},
	{
		name: 'AWS via SST',
		test: () => !!process.env.SST,
		module: 'svelte-kit-sst',
		version: '2'
	}
];
As noted, the adapter installs the detected target module. It doesn’t support all platforms and is too much abstracted, it even makes the build slower because it updates the packages lock-file outside of our repo, for those reasons, it’s highly recommended to use a specific adapter in the first place.
Exploring the Node Adapter
Let’s have an experiment with adapter-node and see the output it generates, we will explain deploying SvelteKit apps to node servers in a future part of the series. For now, our focus is to explain how Adapters work.
Let’s begin by installing the adapter to our example app:
pnpm install -D @sveltejs/adapter-vercelIf you haven’t already, open the example app in your favorite text editor:
code-insiders .And let’s move to svelte.config.js and use the new adapter there:
import adapter from '@sveltejs/adapter-node'; # We have only changed this line
import { vitePreprocess } from '@sveltejs/kit/vite';

/** @type {import('@sveltejs/kit').Config} */
const config = {
	// for more information about preprocessors
	preprocess: vitePreprocess(),

	kit: {
		adapter: adapter()
	}
};

export default config;
Let’s build our app again:
pnpm buildThe command will output a .svelte-kit directory similar to the one before, but this time it’s going to feed it with the node adapter and generate a new build directory that contains our node app.
There are a set of options we can pass to the node adapter, we are going to explain those in a later part of the series, for now we will use the defaults that work well for us.
You can expand the build directory to explore it’s content, you won’t see any sign of Svelte there, it’s a Fullstack Node.js application that’s deployable out of the box! you can even run it:
➜ export ORIGIN=http://localhost:3000

➜ node build #runs buid/index.js

Listening on 0.0.0.0:3000
Why pass the ORIGIN env? Our app needs a way to know the base URL for server actions to work, otherwise we are going to get a 403 Forbidden response after each form submission.
Head over to http://localhost:3000 and you will see our app sitting there!

As you see, the app is dynamic! Having a node server allowed us to use awesome features like SSR and Streaming. In addition to that, with the power of SvelteKit we had the ability to add some static pages to the website!
Getting into Adapter-Static
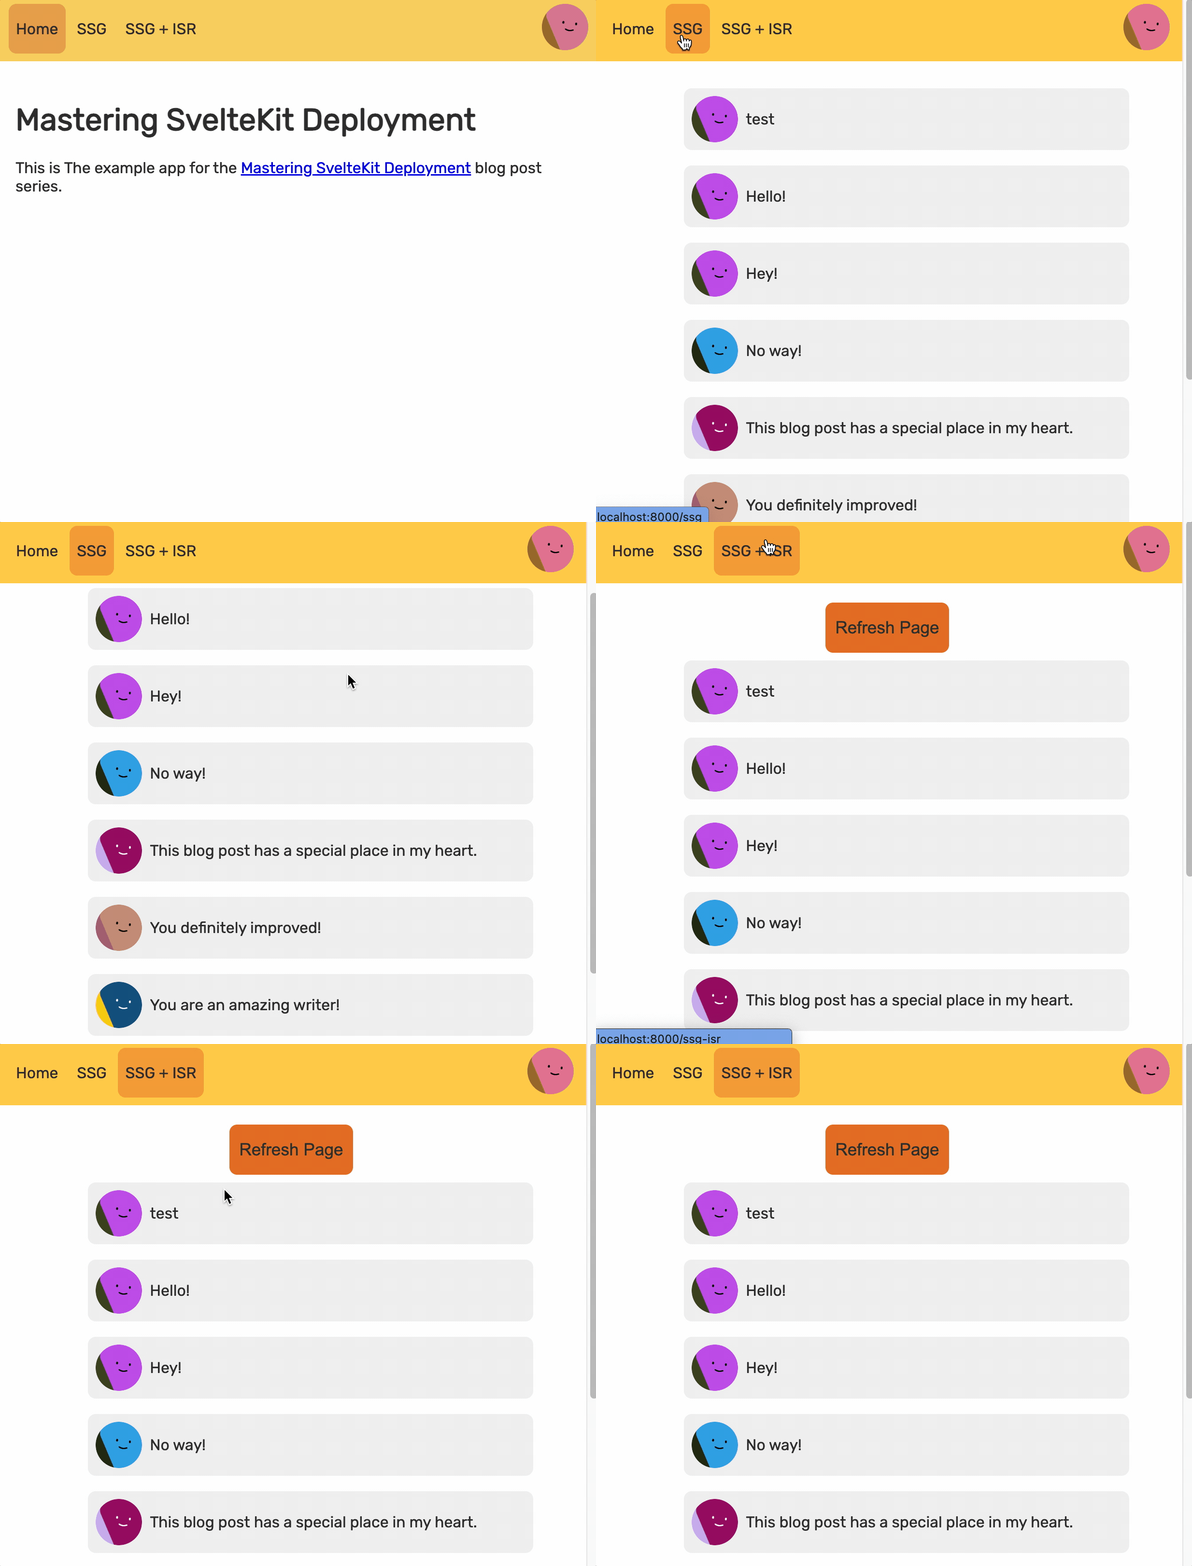
Now we will move a step further and explain pure SSG outputs, which is generated by using adapter-static, our app will turn into a complete static website, which means it won’t have server code anymore, and all what you get will be HTML, CSS, and JavaScipt files. Taking this approach allows you to deploy your app to services specifically designed for static content, like Static Hosting Providers or Static-Only CDNs. This can significantly reduce your costs if you don’t require a server for your website.
Before we begin, I would like to quote some text with you, taken from the SvelteKit’s docs
The basic rule is this: for a page to be prerenderable, any two users hitting it directly must get the same content from the server.
We will follow this good rule in this section, the pages we will have are purely static without dynamic behavior, so we will get rid of any dynamic pages here, this is what adapter-static is meant for, pure static websites!
Let’s start with installing the adapter:
pnpm install @sveltejs/adapter-staticAnd as usual, modify svelte.config.js to use the newly installed adapter:
import adapter from '@sveltejs/adapter-static';
import { vitePreprocess } from '@sveltejs/kit/vite';

/** @type {import('@sveltejs/kit').Config} */
const config = {
	preprocess: vitePreprocess(),

	kit: {
		adapter: adapter()
	}
};

export default config;
Before building the app, there are few things we need to do:
Go to
+layout.server.tsand enable pre-rendering for your whole appimport { fetchAvatar } from '$lib/utils'; import type { ServerLoad } from '@sveltejs/kit'; export const prerender = false; export const load: ServerLoad = async ({ fetch, cookies }) => { const avatar = cookies.get('avatar') || (await fetchAvatar(fetch)); cookies.set('avatar', avatar); return { avatar }; };In order for the website to be purely static, runtime server code needs to be removed, in our case, we remove all API handlers and server actions. So we will remove the
api/avatar,ssr,ssr-streamingroutes.Remove the on:click handler on the
AvatarButtoncomponent as it fetches from a removed route.<script lang="ts"> import { avatar } from './stores'; import { fetchAvatar } from './utils'; export let setAvatar = (value: string) => { $avatar = value; }; const generateAvatar = async () => { const avatar = await fetchAvatar(); setAvatar(avatar); }; </script> <button on:click={generateAvatar}> <img src={$avatar} alt="avatar" width={48} height={48} /> </button> <style> ... </style>Lastly, we remove any links pointing to a removed routes, in such case, we remove links to
ssrandssr-streamingpages in+layout.svelte:<script lang="ts"> import type { PageData } from './$types'; import HeaderLink from '$lib/HeaderLink.svelte'; import AvatarButton from '$lib/AvatarButton.svelte'; import { avatar } from '$lib/stores'; export let data: PageData; $avatar = data.avatar; </script> <svelte:head> <title>Deployed SvelteKit app</title> <meta name="description" content="Example app for Mastering SvelteKit deployment series" /> </svelte:head> <header class="flex items-center justify-between p-4 bg-gray-100"> <nav> <HeaderLink href="/">Home</HeaderLink> <HeaderLink href="/ssr">SSR</HeaderLink> <HeaderLink href="/ssg">SSG</HeaderLink> <HeaderLink href="/ssr-streaming">Streaming</HeaderLink> <HeaderLink href="/ssg">ISR</HeaderLink> <HeaderLink href="/cache-headers">Cache Headers</HeaderLink> </nav> <AvatarButton /> </header> <main> {#key data} <slot /> {/key} </main> <style> ... </style>
And we finally get to build our app:
pnpm buildIf you expand the content of the `build` directory, you will get a filesystem tree similar to the following:
	├── __data.json
	├── _app
	│ ├── immutable
	│ │ ├── assets
	│ │ │ ├── [..].css
	│ │ ├── chunks
	│ │ │ ├── [..].js
	│ │ ├── entry
	│ │ │ ├── [..].js
	│ │ └── nodes
	│ │ ├── [..].js
	├── cache-headers
	│ └── __data.json
	├── cache-headers.html
	├── favicon.png
	├── index.html
	├── ssg
	│ └── __data.json
	└── ssg.html
As you see, our whole app turned into a set of HTML, CSS, JavaScript, and few JSON files storing already fetched data. You can explore the content of each directory, no trace of a single Nodejs function!
But that’s too much, right? let’s talk details and dive into each directory:
_app/immutable: Contains static files that are likely to never change, it has a set of compiled JavaScript and CSS files, that’s why they are cached for 1 year, but they are fingerprinted so that when you update those without worrying about caching.ssg: For each route in our app, we have a generated HTML file and data JSON. For the root route /, we have the index.html and data.json, and for each other route, we will have them as[route_name].htmland `[route_name]/data.json`. Those JSON files are simply the data generated by each route load function (here we only have the SSG page). It’s the static data being generated once at build time.- We will also have our static assets in the same directory, for example, the favicon or any other static file you have, but those won’t be fingerprinted, and currently, SvelteKit does not cache them for you.
Now you can run the build/index.html, or better, fire up a simple HTTP server from the build directory, and it will work just like any static website!

Note that the ISR page may remain as an SSR page, as of writing this blog post, only Vercel supports this feature.
I hope you grasped this foundational blog post. If not, feel free to read it again or simply move forward! See you in the next one which covers deploying our app to Vercel.