Mastering SvelteKit Deployment: Deploying to AWS Cloudfront using SST
- SvelteKit
- Deployment
- AWS S3
- SST
- Cloudfront
- SST Static Website
- Custom domain
Published on
In this part of the series, we will deploy a static version of our SvelteKit app to AWS S3 and serve it via AWS CloudFront. We will use SST for this purpose, which is a tool that significantly simplifies the deployment process for us. Let’s get started
What is SST
SST is a tool built around AWS services that aims to simplify the process of building and deploying web applications. This tool has been receiving a lot of attention lately, as developers have always been looking for ways to deploy their apps to AWS quickly and avoid the hassle of working with the AWS console.
One great thing about SST is the wide compatibility it offers, allowing to deploy a variety of services including APIs, serverless apps, and even static websites.
Before proceeding, make sure you have
aws-cliinstalled and that you have logged in to your AWS account with a region of your choice, follow This guide on the AWS docs to set it up.
Using SST to deploy our static SvelteKit app
Let’s begin by checking out the static branch of our example app, that we built in Part 2 of the series.
cd deployed-sveltekit-app
git checkout static
Make sure you have your npm dependencies installed:
pnpm installAnd let’s build the project to generate a build directory, which we will deploy later on:
pnpm buildNow create an SST project within the app root directory:
pnpx create-sst@latestWhen you run this command, it will prompt you with the following:
You are in a Svelte project so SST will be setup in drop-in mode. Continue? (Y/n):This will setup an SST project within our SvelteKit app, agree by pressing the key Y.
Once you execute the command, you will notice that it makes some changes to your project files. Let’s examine the file sst.config.ts in the root directory:
import type { SSTConfig } from 'sst';
import { SvelteKitSite } from 'sst/constructs';

export default {
	config(_input) {
		return {
			name: 'deployed-sveltekit-app',
			region: 'us-east-1'
		};
	},
	stacks(app) {
		app.stack(function Site({ stack }) {
			const site = new SvelteKitSite(stack, 'site');
			stack.addOutputs({
				url: site.url
			});
		});
	}
} satisfies SSTConfig;
This file contains the code which will instruct SST to deploy your app to AWS, and being Typesafe is a blessing for developers like us!
The domain ssr/constructs has contains a set of functions that execute templates to be deployed using AWS CloudFormation. When we ran the command, SST automatically detected that we are on a SvelteKit project and it imported the SvelteKitSite construct, this function is too useful for deploying full-stack SvelteKit applications, but we are building a static website, so we have a few things that we need to change.
Instead of using SvelteKitSite, let’s replace the import with StaticSite and specify the path to our built static site directory ./build. I have also replaced the app region (The region doesn’t matter that much for these apps, the CloudFront and S3 distributions will not use an AWS region, only CloudFormation will):
import type { SSTConfig } from 'sst';
import { StaticSite } from 'sst/constructs';

export default {
	config(_input) {
		return {
			name: 'deployed-sveltekit-app',
			region: 'us-east-2'
		};
	},
	stacks(app) {
		app.stack(function Site({ stack }) {
			const site = new StaticSite(stack, 'site', {
				path: './build'
			});
			stack.addOutputs({
				url: site.url
			});
		});
	}
} satisfies SSTConfig;
Another thing we need to do is to reset the changes made in svelte.config.js, at the time of writing this blog post, the changes made by SST do not work well with SvelteKit 2, also; we need the adapter-static, not the sst adapter:
git checkout svelte.config.jsBefore committing deployment, we need to run the dev command at least once to init our SSR project:
pnpm devYou will be prompted with this question to enter a name for your personal stage. A stage is an SST environment that allows you to dictate certain configs for dev, prod…etc. enter the name you would like to use and proceed.
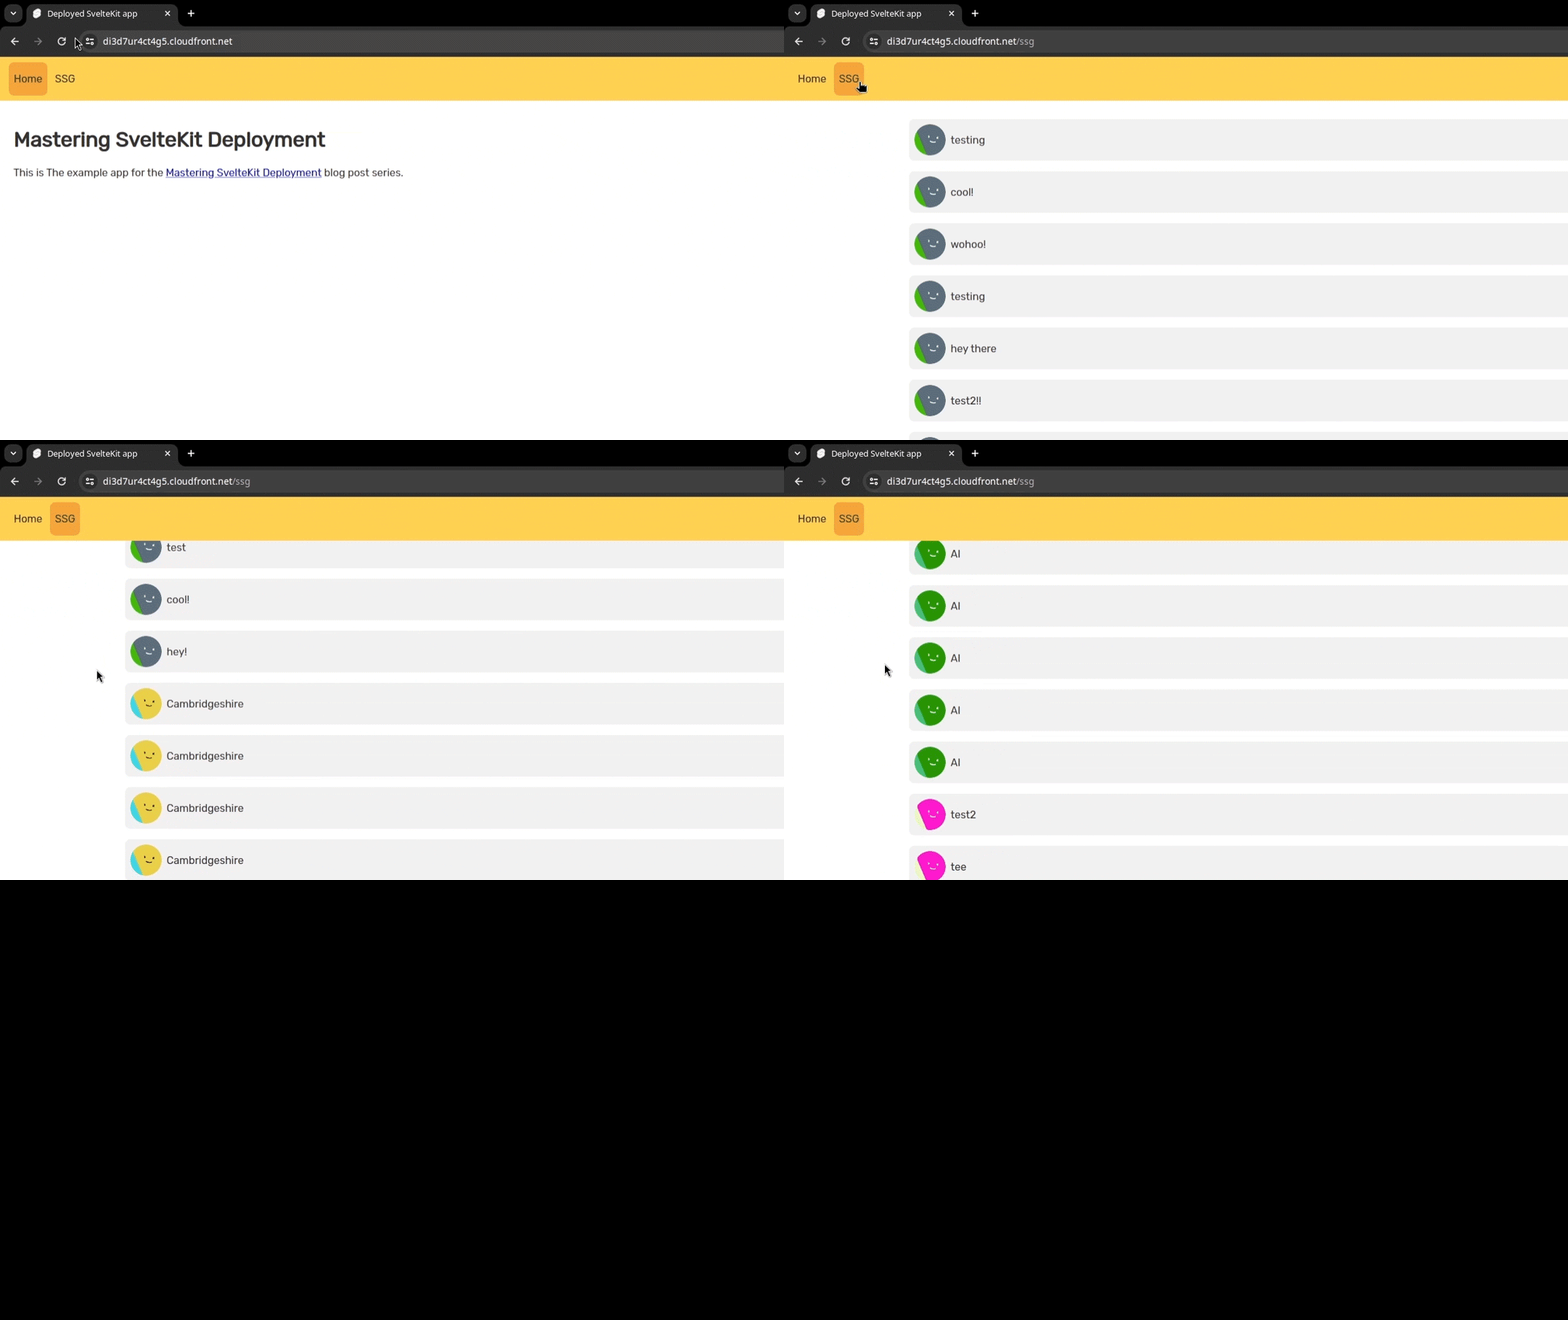
When the command completes running, it will then run your dev server. Let’s test it to see that everything works as expected:

Great! Now that’s all what we have to do, kill the dev server or open a new terminal, and let’s deploy!
pnpm sst deploy --stage prodNote that we have specified the prod stage for the deployment environment. SST will automatically create an S3 bucket and a CloudFront distribution, and those will be part of a new AWS CloudFormation stack. It organizes your project greatly that allows you to change or remove it with ease.
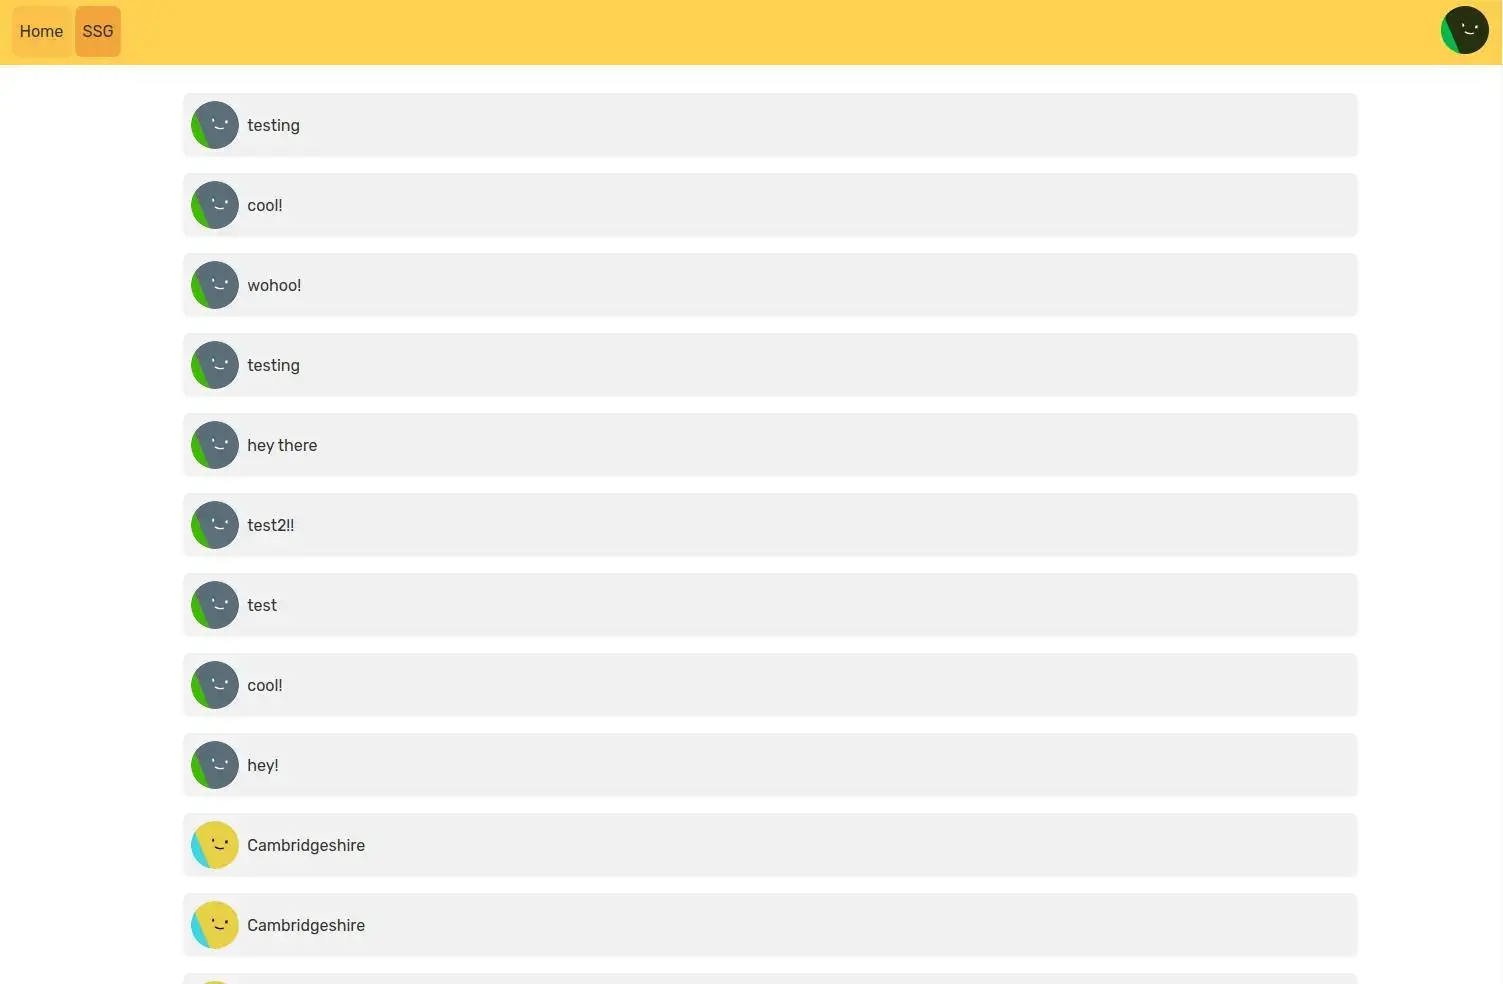
After the command finishes, you can find your app URL displayed in the console, resembling https://<id>.cloudfront.net. Head to that link and you will see your app deployed and working as you would like to!

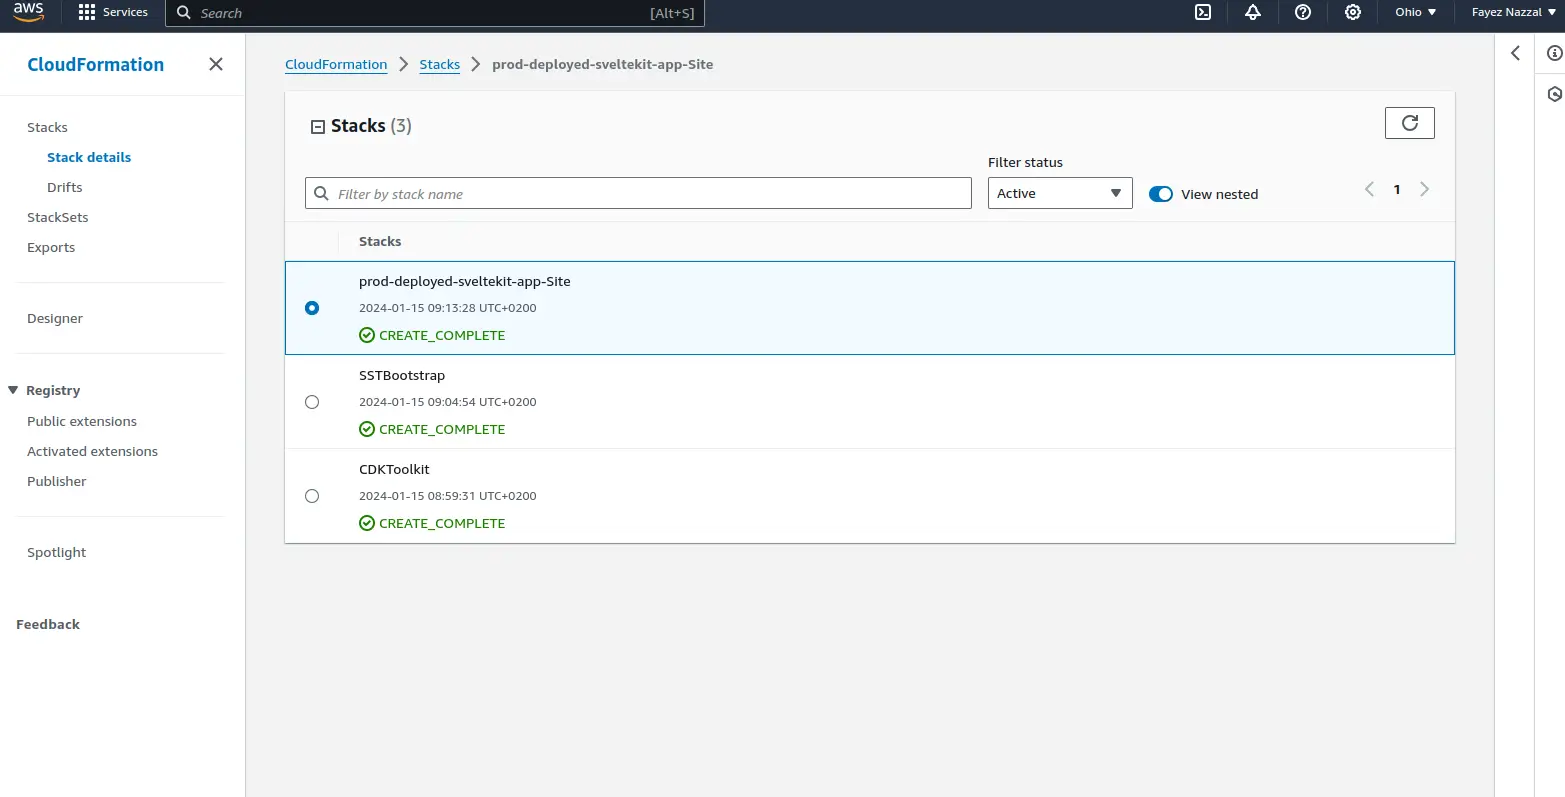
If you head to your AWS console, you see SST has created some new stacks for us, what’s relevant here is the prod-deployed-sveltekit-app-Site which contains the S3 bucket and CloudFront distribution for our app.

We made the following changes here in the
static-s3branch, which is based on thestaticbranch.
Adding custom domain to our SST App
With SST, we can set up a custom domain name for our app easily, whether it was inside or outside our AWS account.
We can do this by modifying sst.config.ts, adding customDomain property to the StaticSite configuration.
import type { SSTConfig } from 'sst';
import { StaticSite } from 'sst/constructs';

export default {
	config(_input) {
		return {
			name: 'deployed-sveltekit-app',
			region: 'eu-west-1'
		};
	},
	stacks(app) {
		app.stack(function Site({ stack }) {
			const site = new StaticSite(stack, 'site', {
				path: './build',
				customDomain: 'deployed-sveltekit-app.com'
			});
			stack.addOutputs({
				url: site.url
			});
		});
	}
} satisfies SSTConfig;
If we pass this property alone, it will assume that we have created a new AWS Route53 hosted zone and purchased the domain name already.
Now if we run the deployment command again, it will modify our app accordingly.
pnpm sst deploy --stage prodI’m not going to purchase that domain, so I’ll leave you here .
For further details on specifying external domains, see SST StaticSite Documentation.
That was a short post with great accomplishments! Thanks to SST for simplifying the process for us.